Learn how to make your own magic mirror
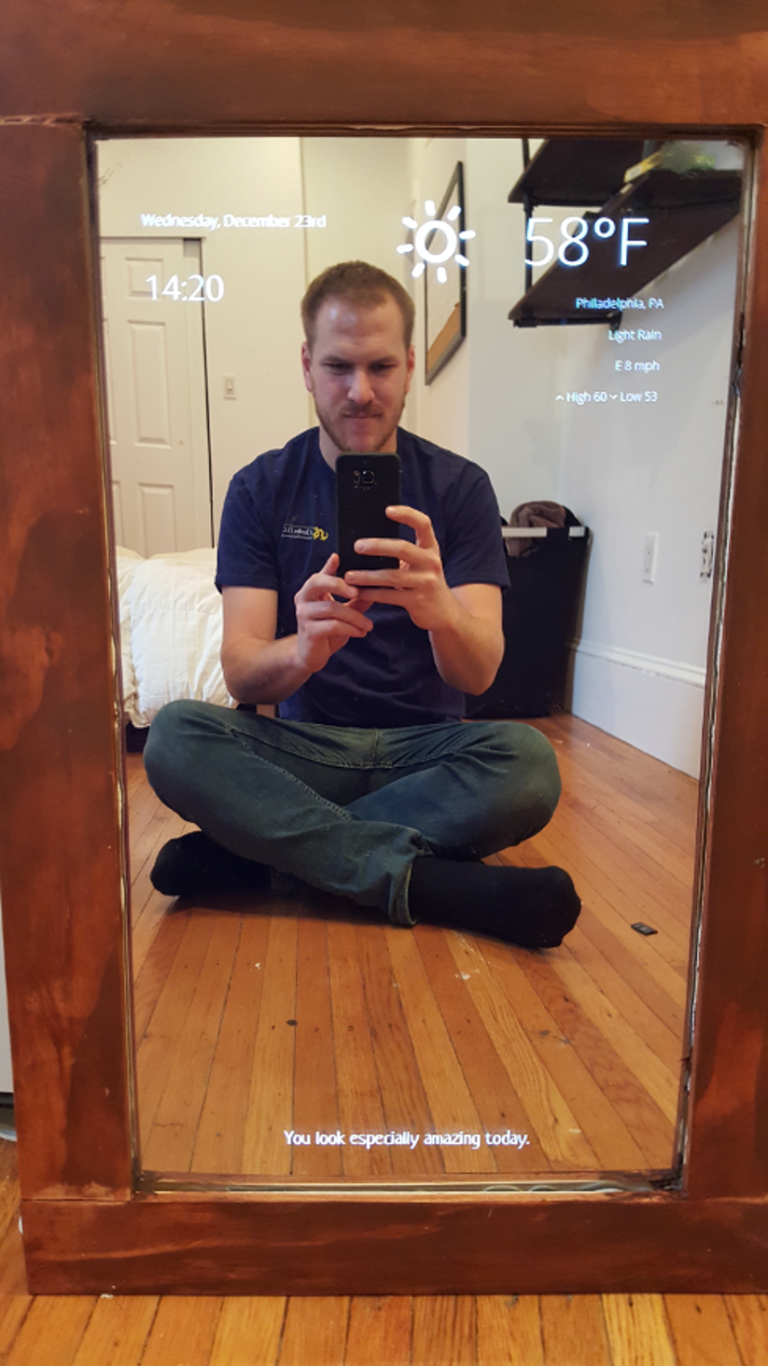
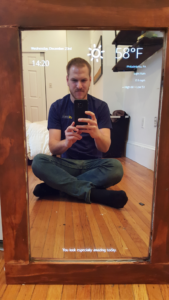
The mirror can display your daily schedule, date, weather, and more
You might have seen it in a futuristic Hollywood blockbuster, but did you ever think about how you can build your own magic mirror and be the star of the show yourself?
If you’re unfamiliar with what exactly a magic mirror is, it’s a smart mirror capable of displaying your daily schedule, the date and time, weather, and other important updates. Read on below to see how you can make your very own.
First thing’s first: the project itself is slightly complicated. It takes a two-way mirror, an old computer monitor, and a Raspberry Pi, which provides the power. No low-level hacking is required.
Shopping list
For a complete break-down, here’s what you’ll need.
- A computer screen (that you can take apart)
- An observation mirror
- A Raspberry Pi with casing along with a micro USB power cord
- A SD-card (8GB)
- A network adapter
- Wood frame
- HDMI-to-VGA-adapter
- A mouse and a keyboard with USB
- A second computer (for fixing OS)
Select a monitor and mirror
When it comes to the size of the mirror, it depends on the kind of monitor you select. One important aspect is to make sure you get a monitor with the inputs located towards the center of the monitor rather than on the sides. Otherwise, it could be difficult to fit the frame, and the Raspberry Pi’s HDMI cord must also fit.
Being the most essential piece of the whole project, the mirror, being acrylic and plastic-like, is easier to work with compared to an actual mirror. It’s simple (and safer) to cut it in several different ways to make it fit the way you need. Be sure to order a mirror that’s close in size to your monitor so you can build with ease.
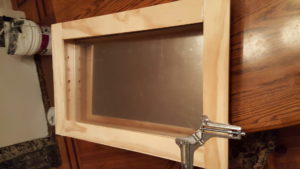
Build the case
Building the case doesn’t require much work. This part is basically all about cutting your pieces to fit the monitor into the case. By doing this, you’ll be able to remove the monitor without any issues.
An important tip here is to screw holes at the top and bottom of the case, giving the Raspberry Pi some airflow. You should also make one of the holes at the bottom of the case large enough for a power plug to fit through, since you’ll need it when you’re wiring your monitor and Raspberry Pi’s power through the case.
Attach the frame to the case
This step may be the simplest of all. To avoid a hassle, be sure to stain the frame and case separately before gluing the mirror between them. Afterwards, gluing everything together is all there is to it.
Install the Raspberry Pi
Now the fun begins. Ideally you’d want to have just one cord coming out of the bottom of the case to supply power. The easiest way to do this is to buy a two-way power splitter. Then all of the components can nicely fit together on the back of the monitor, with the help of some industrial tape, as pictured below.
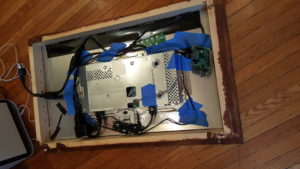
The point of this is to supply power to both the monitor and the Raspberry Pi with a single cable. Simply hook up the Raspberry Pi to the monitor, and Ethernet to the router. Next, if you already hadn’t, you’d have to install Raspbian, the Raspberry Pi Foundation’s official operating system. Once you’re through the NOOBS installation process, you’ll be rewarded with the Raspberry Pi boot sequence.
Turn the Raspberry Pi into a kiosk
It doesn’t make sense for your magic mirror to just display the Raspberry Pi desktop, and fortunately, there are a few ways to get your Raspberry Pi to work like a kiosk. Blogger Dylan Pierce had luck following the following steps while building his mirror.
Install Chromium
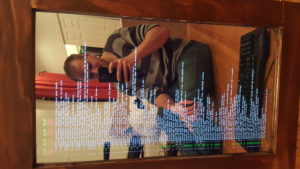
Depending on your Raspbian version you may run into a few issue with this. The raspberry Pi behind Pierce’s mirror (pictured above) is running version Jessie of the Raspbian OS. There have been some changes to the Raspbian repository, including the removal of Chromium, which is the easiest browser to set up as a kiosk.
Full details here, directly from the author.
Maker Faire Rome – The European Edition has been committed since eight editions to make innovation accessible and usable to all, with the aim of not leaving anyone behind. Its blog is always updated and full of opportunities and inspiration for makers, makers, startups, SMEs and all the curious ones who wish to enrich their knowledge and expand their business, in Italy and abroad.
Follow us, subscribe to our newsletter: we promise to let just the right content for you to reach your inbox